Why Do Silicone Overmolded Parts Turn White After Bending?
Introduction
A silicone overmolded part may look uniform immediately after molding but develop white marks, glossy areas, cloudy zones, or uneven surface appearance after bending, stretching, demolding, assembly, or repeated use.
In some projects, the appearance returns to normal after the part relaxes. In other cases, the white mark remains and may indicate excessive local strain, poor material distribution, micro-voids, unstable curing, surface damage, weak bonding, or structural stress around the insert.
This problem is especially noticeable on:
- Dark-colored silicone
- Transparent or translucent silicone
- Thin sealing lips
- Soft-touch overmolded handles
- Flexible button structures
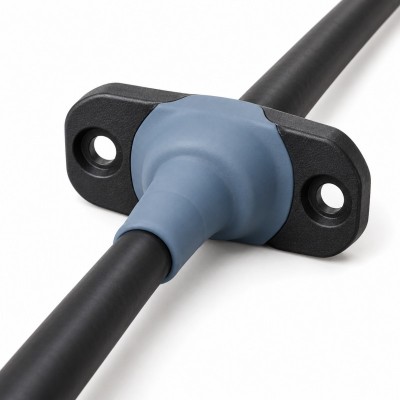
- Cable strain-relief parts
- FPC protective overmolding
- Wearable device components
- Beauty-device contact parts
- Automotive and electronic seals
For engineers and OEM buyers, the correct question is not only whether the silicone looks white after bending.
The more important questions are:
- Where is the strain concentrated?
- Does the mark disappear after recovery?
- Is there any crack or bonding separation?
- Does the part still meet its functional requirements?
- Can the same appearance be controlled during mass production?
Answer Excerpt
Silicone overmolded parts may turn white, cloudy, or unusually glossy after bending because the silicone structure experiences concentrated strain, internal optical changes, surface stretching, micro-void development, pigment or filler movement, uneven curing, or stress around plastic, metal, FPC, or cable inserts.
Temporary whitening does not always mean the silicone has cracked. However, permanent whitening, edge lifting, surface crazing, loss of elasticity, or repeated whitening in the same area should be investigated.
The solution may require changes to silicone hardness, wall thickness, transition geometry, material formulation, curing conditions, mold surface, venting, insert-edge design, demolding method, assembly process, or validation standards.
1. What Does Silicone Whitening Look Like?
Silicone whitening can appear in several different forms.
Common examples include:
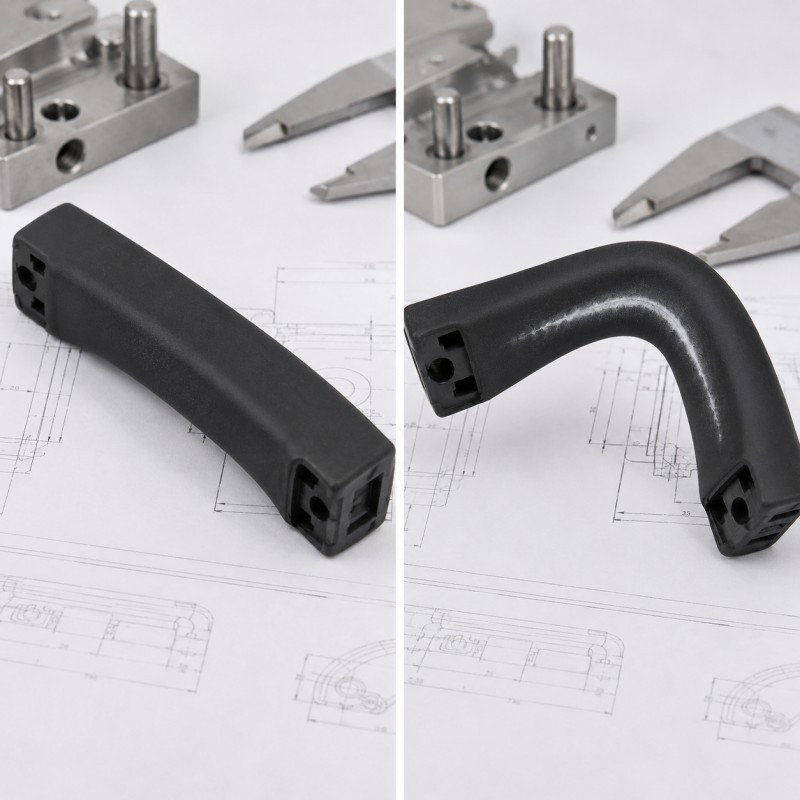
- A white line along a bending area
- A cloudy patch after stretching
- A lighter zone around a hole or corner
- White marks near a plastic or metal insert edge
- A glossy strip on an otherwise matte surface
- A rough-looking area after repeated flexing
- A white ring around an overmolded opening
- Surface color that changes when compressed
- Local appearance differences between mold cavities
These defects may have different causes.
A narrow white line at a sharp corner may be related to stress concentration. A cloudy area inside transparent silicone may be related to trapped air or internal material variation. A glossy patch may be related to mold texture, incomplete texture transfer, contamination, or local pressure.
Appearance should therefore be evaluated together with product structure and test conditions.
2. Temporary Whitening Is Different From Permanent Damage
Not every white mark means the product has failed.
Some silicone parts show temporary optical whitening when stretched. The color may return after the part is released and allowed to recover.
This can occur because bending or stretching changes how light passes through or reflects from the silicone structure.
However, the problem requires more attention when:
- The white mark does not disappear
- The surface becomes rough
- Small cracks appear
- The silicone does not recover
- The same area becomes weaker
- The bonding edge begins to lift
- Waterproof performance changes
- The mark grows after repeated cycles
- The product becomes permanently deformed
Buyers should distinguish between a reversible appearance change and permanent structural damage.
A practical test should record the product before bending, during bending, immediately after release, and after a defined recovery period.
3. Excessive Local Strain Is a Common Cause
Silicone can stretch significantly, but the strain must be distributed across the product structure.
If most of the movement is concentrated in one small area, whitening may appear even when the rest of the product looks normal.
Local strain concentration commonly occurs around:
- Sharp internal corners
- Thin silicone bridges
- Small holes
- Narrow necks
- Insert edges
- Sudden thickness changes
- Deep textures
- Parting lines
- Bonding boundaries
- Button roots
- Cable exits
- FPC bending zones
For example, an overmolded silicone cover may be flexible overall, but if one thin section carries nearly all the bending movement, that area may turn white or eventually tear.
The solution is not always choosing softer silicone. The geometry may need to distribute deformation over a larger area.
4. Sudden Wall-Thickness Changes Increase Stress
A transition from a thick silicone area to a very thin area can create uneven deformation.
The thin section stretches more easily, while the thick section resists movement. Stress then concentrates near the transition.
Possible results include:
- Whitening
- Surface distortion
- Uneven gloss
- Weak texture definition
- Tearing
- Poor recovery
- Internal stress
- Unstable dimensions
Smoother thickness transitions are generally easier to mold and more stable during use.
During DFM review, engineers should evaluate:
- Minimum silicone thickness
- Maximum silicone thickness
- Thickness transition length
- Rib location
- Local support
- Flow direction
- Demolding movement
- Final bending direction
A small change in the transition geometry may improve appearance more effectively than changing the complete material specification.
5. Silicone Hardness Must Match the Structure
Softer silicone can usually bend more easily, but it may also stretch excessively, move out of position, or lose structural support.
Harder silicone may maintain its shape better, but it can create greater local stress when the product is forced to bend around a sharp feature.
Hardness should be evaluated together with:
- Wall thickness
- Product diameter
- Bending radius
- Insert stiffness
- Required movement
- Rebound requirement
- Assembly force
- Temperature
- Repeated-use cycles
For example, a thin soft-touch layer over a rigid plastic insert behaves differently from a solid silicone part using the same nominal Shore A hardness.
The final hardness should be confirmed using molded samples in the actual structure rather than only material test blocks.
6. Dark and Transparent Colors Show Defects More Clearly
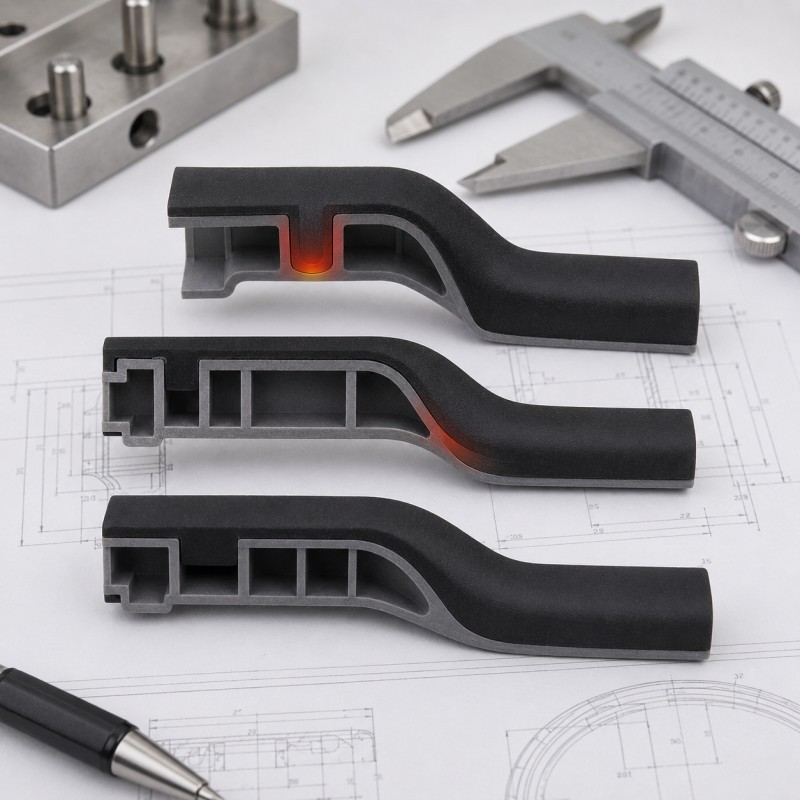
Whitening is often more visible on black, dark blue, dark gray, transparent, and translucent silicone.
On dark silicone, a small optical change creates strong visual contrast.
On transparent silicone, internal bubbles, voids, filler variation, flow marks, and stress zones may become visible through the material.
Color evaluation should consider:
- Pigment concentration
- Material transparency
- Silicone thickness
- Mold surface
- Lighting conditions
- Part background
- Bending angle
- Product temperature
- Inspection distance
A product may look acceptable under normal factory lighting but show visible white marks under strong retail lighting or when installed over a contrasting substrate.
Buyers should define the appearance-inspection environment before approving samples.
7. Pigment and Material Dispersion Affect Appearance
Custom-colored silicone requires controlled mixing and pigment dispersion.
If pigment, filler, or material components are not distributed consistently, the final product may show:
- Color streaks
- Cloudy areas
- Uneven transparency
- Local gloss differences
- Visible flow lines
- Color change after stretching
- Batch-to-batch variation
These problems may become more obvious after bending because the silicone thickness and optical behavior change under strain.
Material control should include:
- Correct silicone grade
- Stable mixing ratio
- Controlled pigment amount
- Consistent color batch
- Suitable mixing process
- Clean material handling
- Controlled storage
- Sample retention
For critical cosmetic parts, the buyer should approve the actual molded color and texture instead of relying only on a Pantone number.
8. Incomplete or Uneven Curing Can Create Unstable Areas
Liquid silicone rubber must cure under controlled temperature and time conditions.
If curing is uneven, different areas of the product may have different mechanical or surface behavior.
Possible causes include:
- Unstable mold temperature
- Incorrect curing time
- Uneven silicone thickness
- Poor material mixing
- Incorrect component ratio
- Cold areas near the insert
- Excessive local thickness
- Unstable cycle conditions
An under-cured area may feel sticky, soft, weak, or unusually glossy.
An over-stressed or poorly balanced area may show whitening, deformation, or different rebound after bending.
For mass production, curing parameters should be documented and controlled rather than adjusted only by visual judgment.
9. Mold Texture and Polish Affect Gloss Variation
A silicone surface receives much of its appearance from the mold.
A polished mold can produce a glossy surface. A textured mold can produce a matte or fine-grain surface.
Uneven appearance may occur when:
- Mold texture depth is inconsistent
- One area has been polished during repair
- The insert prevents uniform mold contact
- Local pressure changes texture transfer
- Mold contamination affects the surface
- The texture is damaged or worn
- Different cavities have different surface conditions
When silicone bends, a matte texture may open and reflect light differently, making the area appear lighter or glossier.
This does not always mean the material has failed, but the appearance requirement should be tested in the real bending condition.
For cosmetic overmolded parts, mold-surface standards should be defined before tooling.
10. Trapped Air and Micro-Voids May Become Visible During Bending
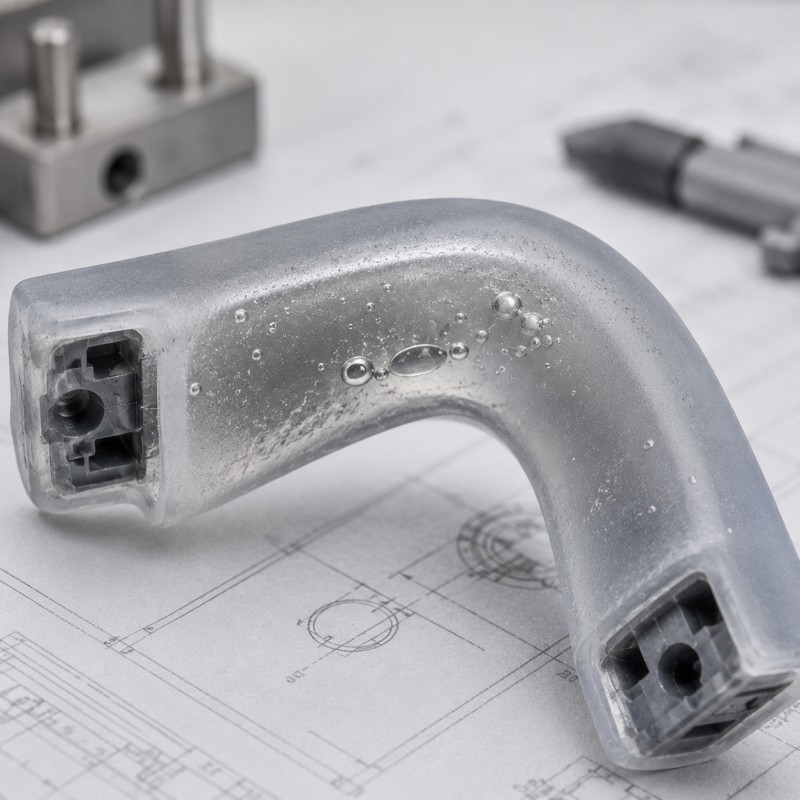
Air trapped inside or under the silicone layer can create bubbles, voids, cloudy areas, weak zones, or inconsistent appearance.
Small internal voids may be difficult to see when the part is relaxed. When the silicone bends or stretches, the void area may become more visible because the surrounding material changes shape.
Air-trap risks are higher around:
- Blind corners
- Deep grooves
- Thin sealing lips
- Insert edges
- Through-holes
- Mechanical locking features
- FPC components
- Cable structures
- Sudden flow changes
Mold venting, gate position, flow balance, insert positioning, material preparation, and injection parameters should be reviewed together.
Improving venting does not mean making every vent larger. The mold must allow air to escape while still controlling flash on functional surfaces.
11. Insert Edges Can Create Stress Concentration
In silicone overmolding, the rigid substrate and flexible silicone deform differently.
The substrate may be:
- Plastic
- Metal
- FPC
- Cable
- Connector
- Electronic component
- Pre-molded silicone
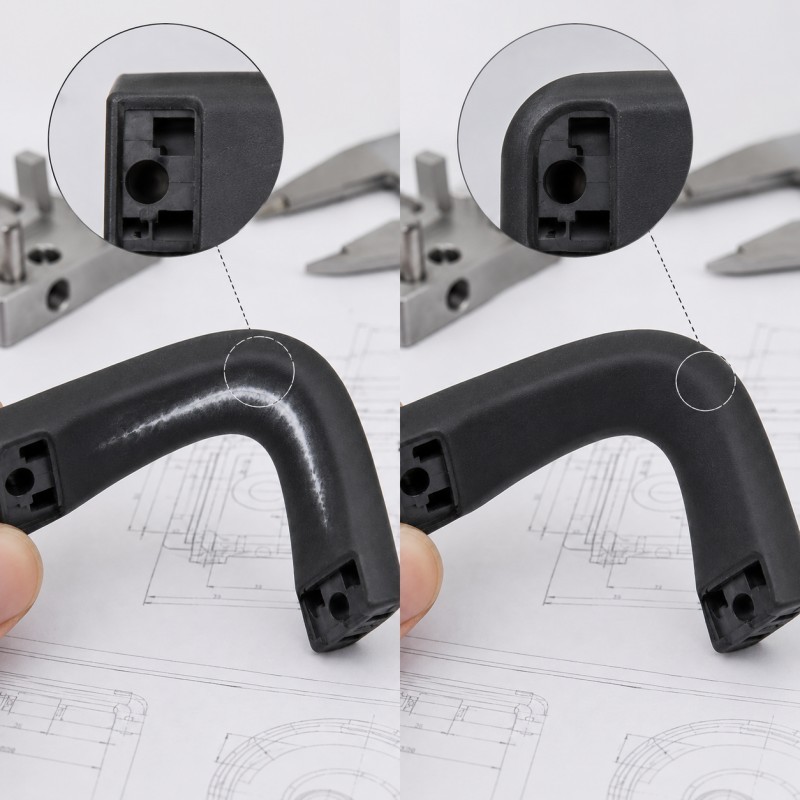
When the final part bends, the silicone near the insert edge may experience much higher strain than the silicone farther away.
In silicone over plastic projects, a sharp insert edge can act like a stress concentration point. This may cause:
- A visible white line
- Edge lifting
- Local tearing
- Bonding failure
- Surface distortion
- Reduced bending life
- Water leakage around the interface
The insert edge may need:
- A larger radius
- A smoother transition
- More silicone coverage
- A wider bonding area
- Mechanical locking
- Better support
- A controlled bending zone
The product should not be designed so that repeated bending occurs directly at an unprotected bonding edge.
12. Demolding Can Damage the Surface Before the Buyer Sees It
Some whitening starts during demolding rather than final product use.
Deep undercuts, thin lips, sharp textures, negative angles, or rigid inserts may require the silicone to stretch significantly when removed from the mold.
If the demolding strain is too high, the part may develop:
- White marks
- Stretched texture
- Permanent deformation
- Small tears
- Glossy areas
- Weak bonding edges
The part may recover partially after demolding, making the root cause difficult to identify later.
DFM review should consider:
- Demolding direction
- Undercut depth
- Draft angle
- Silicone flexibility
- Product support
- Ejecting method
- Manual pulling force
- Mold-release sequence
A design that can be molded but cannot be removed cleanly is not a stable mass-production design.
13. Assembly and Packaging Can Create Additional Stress
A part may leave the molding workshop in good condition but develop whitening later during assembly, storage, or transport.
Possible causes include:
- Forcing the part over a sharp housing edge
- Excessive stretching during installation
- Incorrect assembly orientation
- Over-tightening screws
- Bending the part below its designed radius
- Compressing products inside packaging
- Stacking heavy cartons
- Long-term storage in a deformed position
- High-temperature transport
- Repeated disassembly
Assembly fixtures and work instructions should protect the silicone from unnecessary stretching and sharp contact.
Packaging should also keep sealing lips, buttons, soft-touch areas, and flexible structures in their intended shape.
14. Environmental Exposure May Make Whitening Worse
A part that looks acceptable initially may change after environmental exposure.
Depending on the application, validation may include:
- Heat aging
- Low-temperature testing
- Thermal cycling
- UV exposure
- Sweat exposure
- Oil exposure
- Cleaning-agent exposure
- Water immersion
- Repeated bending
- Compression aging
Temperature and chemical exposure can change flexibility, surface condition, bonding strength, or recovery.
For automotive, wearable, medical, beauty-device, and outdoor electronic projects, appearance should be checked both before and after environmental testing.
15. Whitening Must Be Evaluated Together With Bonding
In an overmolded component, a white line near the substrate edge may indicate only local stretching. It may also be the first sign of bonding separation.
Engineers should inspect whether:
- The silicone remains attached
- The edge can be lifted
- A gap appears under magnification
- Water can enter the interface
- The mark grows after bending
- Peel strength changes
- The substrate has contamination
- Mechanical locking remains intact
Visual inspection alone may not be enough.
Depending on the application, validation may include:
- Edge-lifting inspection
- Peel testing
- Pull testing
- Repeated bending
- Heat aging
- Waterproof testing
- Cross-section analysis
- Microscopic inspection
If the white area is related to delamination, changing only the silicone color will not solve the problem.
16. A Practical Failure-Analysis Sequence
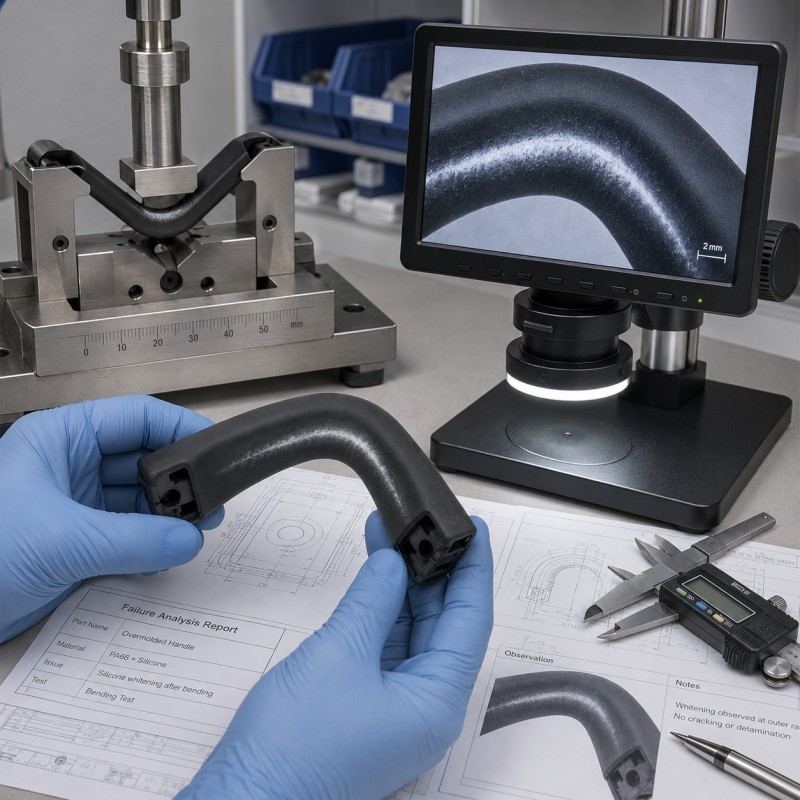
When an LSR overmolded part develops white marks or uneven gloss, use a controlled investigation instead of changing several parameters at the same time.
A practical sequence is:
- Photograph the part before deformation.
- Record the exact bending or stretching method.
- Identify whether the mark is temporary or permanent.
- Compare passing and failing samples.
- Inspect for cracking, tearing, roughness, or edge lifting.
- Measure wall thickness around the affected area.
- Review hardness and material batch.
- Check the insert edge, radius, and bonding boundary.
- Review mold texture and cavity differences.
- Inspect for bubbles or internal voids.
- Review curing temperature and cycle conditions.
- Check demolding and assembly operations.
- Repeat the test after heat, cold, or chemical exposure when required.
- Confirm whether function, sealing, or bonding has changed.
The investigation should separate material, structure, tooling, processing, and handling variables.
17. What Should Be Approved Before Mass Production?
Before mass production, buyers and manufacturers should agree on:
- Silicone material grade
- Target hardness range
- Color standard
- Surface texture
- Gloss requirement
- Acceptable whitening level
- Bending radius
- Bending angle
- Number of cycles
- Recovery time
- Inspection lighting
- Viewing distance
- Wall thickness
- Insert-edge structure
- Bonding requirement
- Environmental tests
- Packaging method
- Reference sample
Statements such as “no whitening” or “surface must be perfect” are difficult to control without a defined test method.
A measurable inspection standard improves communication and production consistency.
Appearance approval should also be coordinated with flash and tolerance control because small dimensional or parting-line changes may alter local stress and surface quality.
How SiliconePlus Supports LSR Appearance and Bending Projects
SiliconePlus provides custom liquid silicone injection molding and silicone overmolding services for precision components used in automotive electronics, consumer electronics, medical devices, wearable products, sensors, beauty devices, and industrial equipment.
Our capabilities include:
- DFM and drawing review
- Silicone material and hardness selection
- Custom color matching
- Mold texture review
- Liquid silicone injection molding
- Silicone over plastic
- Silicone over metal
- FPC silicone overmolding
- Insert-positioning design
- Mold-flow and venting review
- Bonding and mechanical-locking evaluation
- Sample and pilot production
- Appearance and dimensional inspection
- OEM/ODM mass production
For parts that develop white marks, gloss changes, or surface distortion after bending, our engineering team can review the silicone structure, insert edge, wall thickness, bending zone, material, mold surface, curing conditions, demolding, assembly, and validation method.
Frequently Asked Questions
Does whitening mean that the silicone has cracked?
Not always. Some whitening is a temporary optical change caused by stretching. Permanent whitening, roughness, cracks, loss of recovery, or bonding separation requires further investigation.
Why is whitening more obvious on black silicone?
Dark silicone creates stronger contrast when the surface or internal optical condition changes. Small strain marks may therefore be easier to see.
Can softer silicone eliminate whitening?
Not necessarily. Softer silicone may reduce bending force, but it can also increase stretching or deformation. Wall thickness, geometry, insert edges, and bending radius must also be reviewed.
Can poor mold venting cause cloudy or white areas?
Yes. Trapped air or micro-voids may produce cloudy areas and may become more visible when the part bends. Gate position, flow balance, insert structure, and venting should be evaluated together.
Why does whitening occur near a plastic or metal insert?
The rigid insert and flexible silicone deform differently. A sharp insert edge, narrow bonding zone, insufficient silicone thickness, or concentrated bending may create high local strain.
What information is required for failure analysis?
Provide drawings, product photos, silicone material, hardness, substrate material, affected location, bending method, assembly structure, environmental conditions, sample quantity, and photos or videos of the defect.
Conclusion
White marks and uneven gloss in silicone overmolded parts are not caused by one universal material problem.
They may be related to local strain, sudden wall-thickness changes, hardness, pigment dispersion, curing, mold texture, trapped air, sharp insert edges, demolding, assembly, packaging, or environmental exposure.
The first step is to determine whether the appearance change is temporary, permanent, or connected to cracking, bonding failure, or functional loss.
For custom LSR overmolding projects, the bending zone, insert boundary, wall thickness, mold surface, material, and validation method should be reviewed before tooling and confirmed again during samples and pilot production.
If you are developing a flexible silicone overmolded component or investigating whitening after bending, contact SiliconePlus and send us your drawings, samples, substrate material, silicone requirement, bending conditions, defect photos, testing requirements, and estimated quantity. Our team will review the project and provide practical manufacturing recommendations.